Does this sound familiar? When outfitting your aircraft, you did the responsible thing and bought a pilot trauma kit.
It arrived in the mail, and you promptly stowed the kit onboard, checked off the mental to-do box, and haven’t looked at the kit since.
You don’t know what’s in the bag and if you actually needed to use the gear in a real-world emergency, you aren’t sure you’d be able to do it.
If you can relate, no judgment. You’re not alone, and we’ve got you covered.
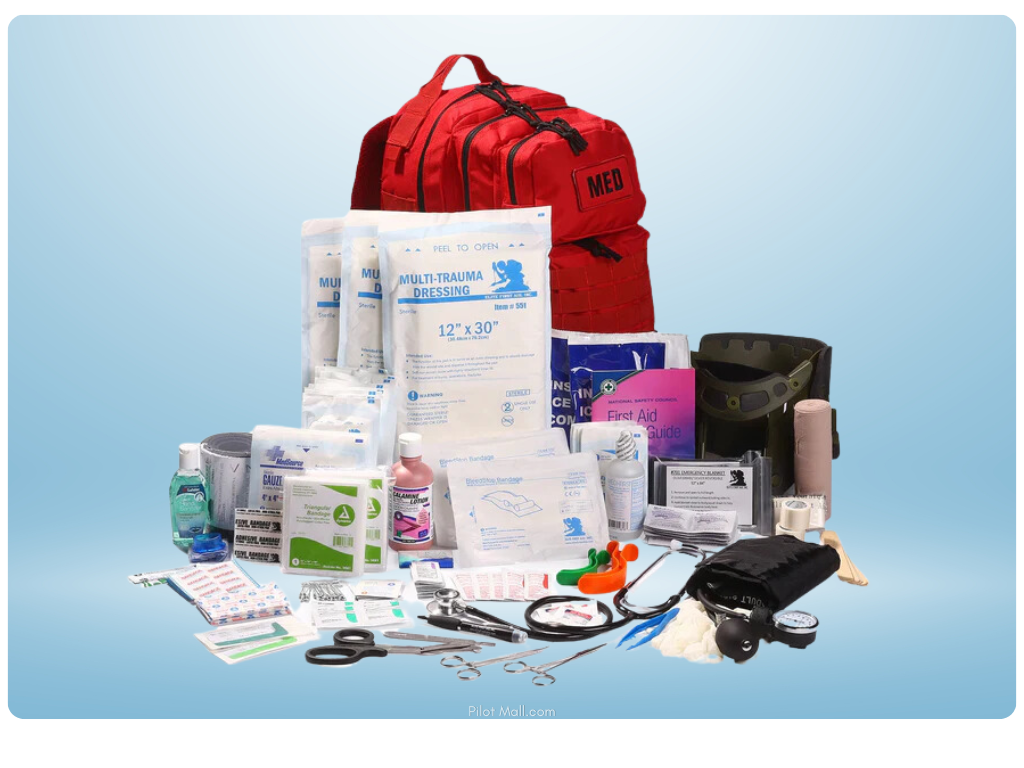
In this article, we will explore primary, secondary, and even tertiary uses for the items included in a pre-packaged medical kit. Like any emergency, sometimes we must think outside the box, so here we go.
By the time we’re done, you’ll know what med gear you have onboard your plane and how to use it plus have ideas for bonus items to add.
Ready to stop worrying about what to do with your med gear?
Let’s dispel the mystery.
 What is a Pilot Trauma Kit Used for?
The primary use for these items is for what is known in the medical community as Body Substance Isolation referred to as BSI.
Along with ensuring that the scene is safe to work in, BSI is the first thing that you should consider prior to treating anyone else’s injuries.
Nitrile Gloves, Hand Sanitizer, & Hand Soap
We’re starting with the basics, because before you jump in and treat injuries (your own or anyone else’s), you’ll want to make the area as clean as possible.
Donning surgical gloves is one of the first steps. Nitrile gloves are not made of latex, are very strong, and resist tears.
The primary use for hand sanitizer is for disinfecting your hands which can be done prior and after contact with any injured person.
The hand soap can be used to clean superficial scratches and wounds as well as for keeping up on hygiene so you don’t invite infection and illness.
Creative Bonus Uses
In a survival situation, nitrile gloves can also be used to transport water like a canteen. Most hand sanitizers are made from a combination of rubbing alcohol and propylene glycol which acts great as a fire starter, so your hand gel makes a great fire starter in an emergency.
Simply add a dollop to your tinder bundle and light it on fire.
SAM Splint
The SAM Splint is a thin moldable aluminum covered in foam padding primarily used to splint bone fractures and sprains.
It comes in many sizes with the larger ones usually kept rolled up in a med kit until required.
How to use the SAM Splint
When needed, the SAM is unrolled and molded into shape. This is usually done with a “C” curve rather than fully flattened to add rigidity.
The company that makes SAM splints teaches medics to “Shape, Set, Secure.” This is a great way to remember the steps to use it properly.
- SHAPE: The splint is first shaped into the splint that is required.
- SET: It is then set into place to support above and below the point of fracture.
- SECURE: Finally, secure the splint in place with wrap, tape, gauze, duct tape, almost anything you can think of.
Once secured, ensure the injured person continues to have blood flow past the point of the splint.
Bonus Uses for SAM Splints
Other uses for the SAM Splint include a makeshift Cervical Collar “C-Collar.” Check out the official SAM splint website for great training videos that will spark your imagination.
 Tongue Depressors
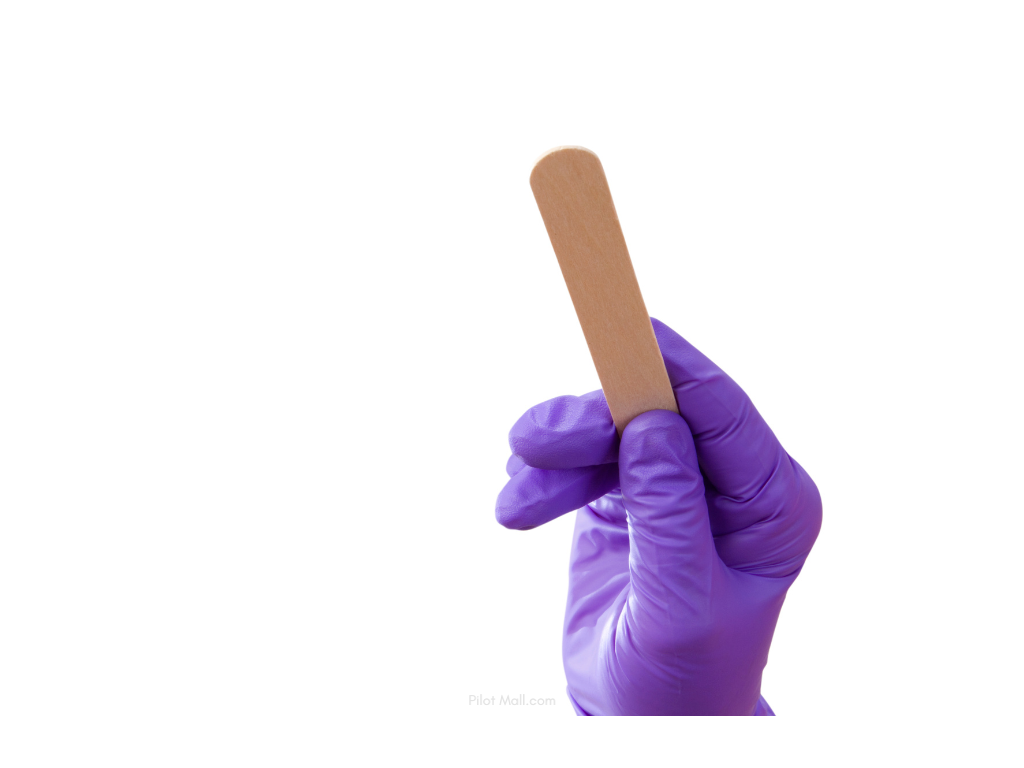
Tongue depressors make great splints for fingers and toes, especially if you need to use your SAM splints for bigger problems.
Cut the depressors to size, then splint the broken appendage and wrap it up with tape.
 Triangular Bandage
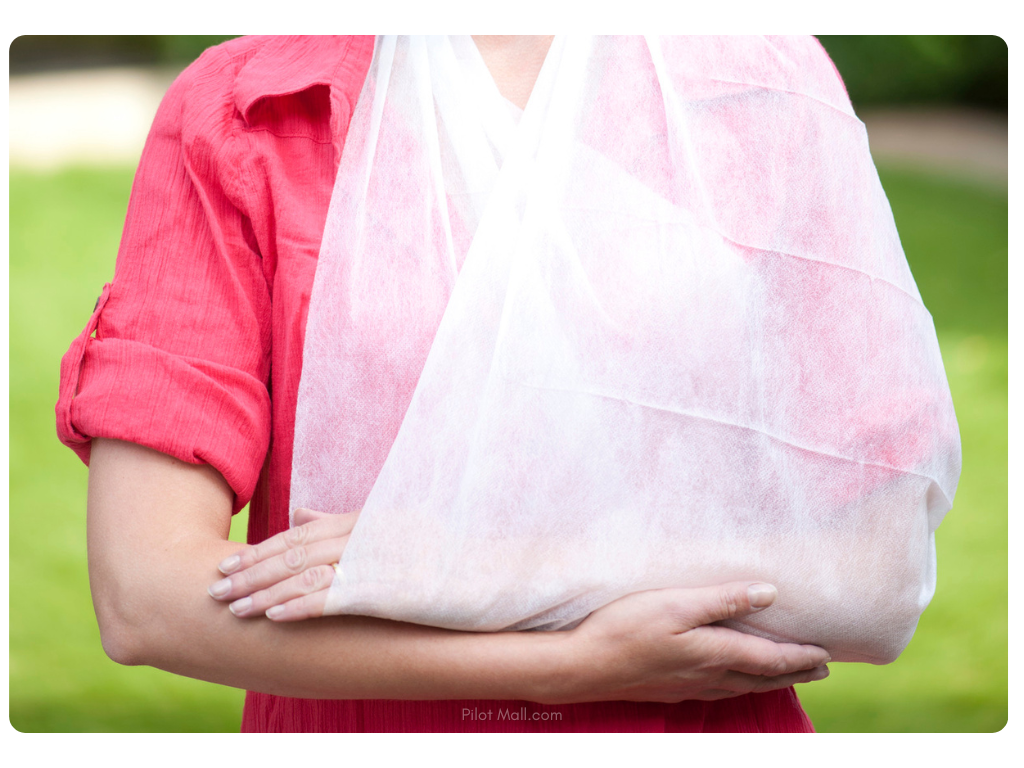
A triangle bandage is another important trauma kit item that most medics carry. Triangular bandages are the “Swiss Army Knife of Medics” and a good addition to any med kit for pilots.
Outdoor guides and most survival instructors will carry some type of a large bandana or a triangle bandage as part of their essential basic kit.
How to Use a Triangle Bandage
Triangle bandages can be used in so many ways from a cravat to a sling. After splinting an arm with a SAM splint, you will often want to cradle it in a triangle bandage sling.
The best way to learn to use these bandages is by watching, then doing. So, pull up a chair and watch 6 different ways to utilize the triangular bandage in your med kit then get a spare bandage and practice the techniques on a friend.
Bonus Uses for Triangle Bandages
A large bandana is part of the 10C’s of survival from “Dual Survival” star David Canterbury’s kit, and the triangle bandage can be used in many of the same ways (depending on the material and construction).
Some of the highlights are head coverings to protect from sun, personal hygiene, first filter for water, and carrying fire starting materials.
 Safety Pins
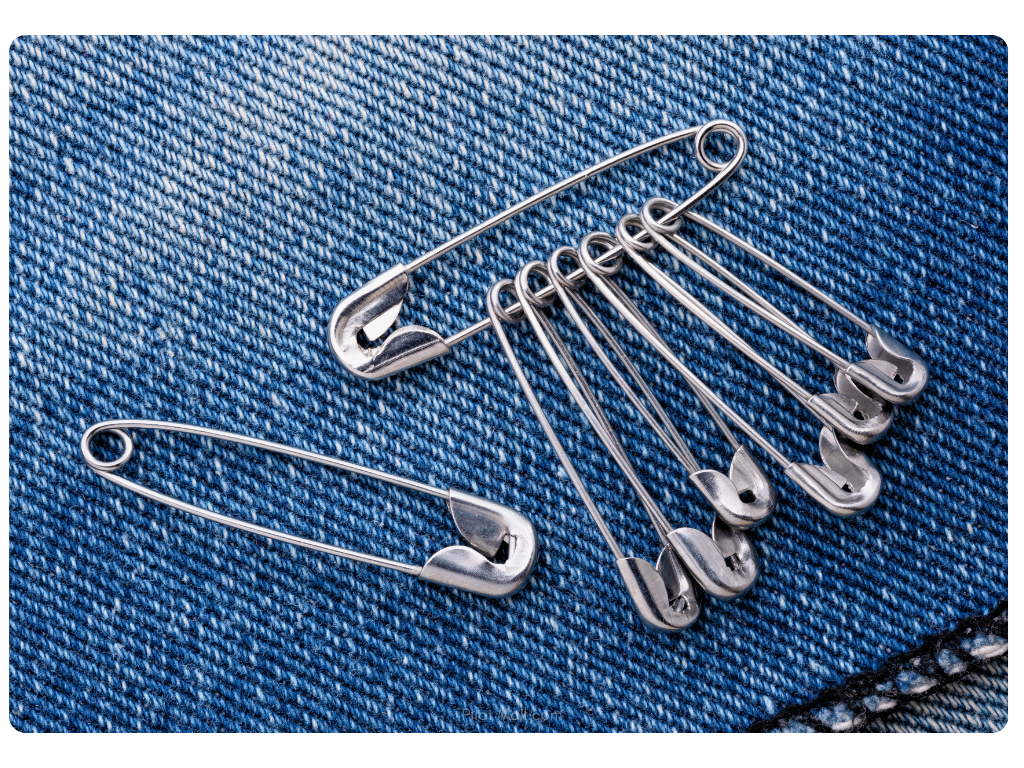
The primary use of safety pins is to fasten the triangular bandage into place as either as sling or brace. But these little gems have a huge part in emergency kits as they serve a multitude of roles.
How to Remove Splinters with a Safety Pin
The safety pin can be used to pick out splinters and remove other foreign objects from under the skin. You may wish to sanitize the site (using that hand sanitizer and/or hand soap), plus heat the needle up with a lighter to sanitize it before use.
How Safety Pins Help You Flush Out Wounds
Irrigate a wound with a plastic water bottle and safety pin. Poke a hole in either the lid or near the lid of the bottle with the pen. Then invert the bottle and squeeze it to increase pressure inside.
This produces a pin point pressurized water stream that can be aimed at a small open wound (think road rash) to flush out debris stuck in the wound site.
Using a Safety Pin as An Emergency Fishing Hook and Fishing Pole Loop
Many survival instructors teach methods of using safety pins as makeshift fishing hooks. Here is another great instructional video on using safety pins as fishing hooks.
You can also use the pin to secure any bait to survival traps so that prey doesn’t run off with the bait without setting off the trigger. If you have enough of them, you can make loops of safety pins and pair with a wood stick to craft a survival fishing pole.
Bonus Uses for Safety Pins
If you are in a survival situation and have ripped either a shirt or a jacket, you can use safety pins as sutures for your clothing. Pin it back together so it can provide you protection against the elements.
The pins can also be used to replace missing or broken buttons on your pants, shorts, or shirts.
Use safety pins to hang your cloths to dry.
If you have broken a zipper on a jacket, you can run a safety pin through the eyelet and use it as a zipper pull.
Another cool trick is to use them to pin your shirt or jacket sleeve against your chest as an emergency arm sling.
Larger or more heavy-duty safety pins can be used as sewing awls to help repair clothing.
 Uses for the Emergency Blanket
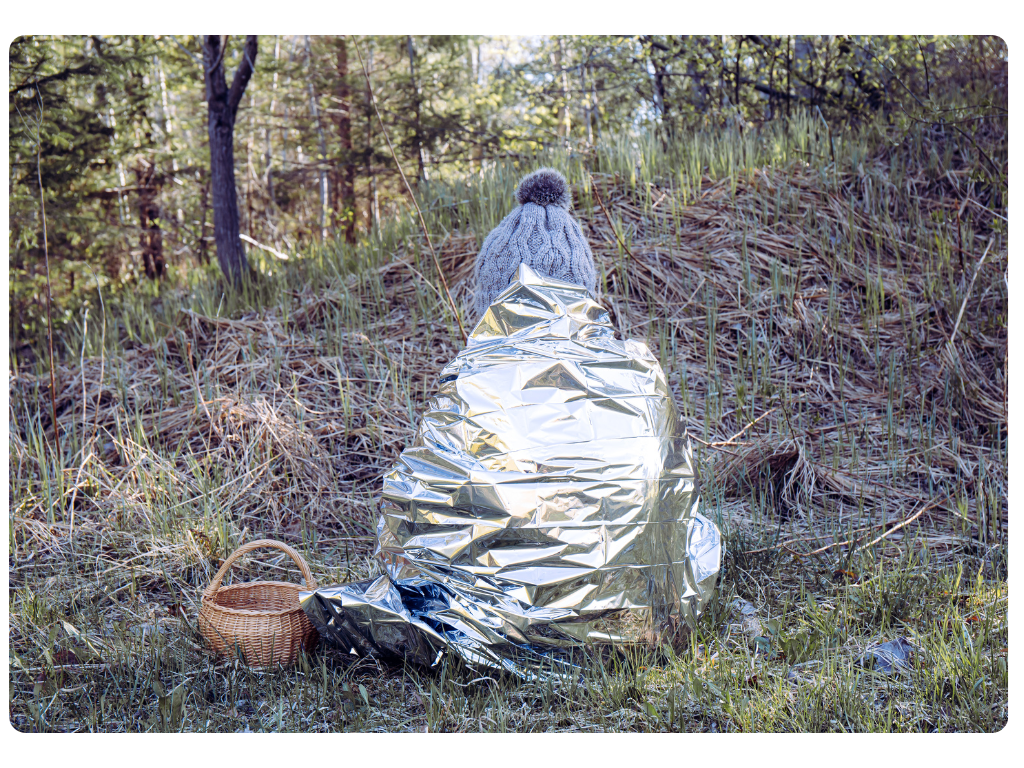
Disposable emergency blankets are about the size of a soda can and be packed in medical kits with ease. Emergency blankets help victims that have lost blood from going into shock.
It is part of a standard procedure to wrap trauma victims in blankets if it may be a while until they get treatment. The blankets are usually made of mylar and have at least one reflective side. This reflective side is placed against the victim when used as a blanket.
Pro Tip: The reflective side of the emergency blanket can also be used as a ground signal to alert overhead aircraft of your need for rescue.
Butterfly Sutures for Wound Closures
Butterfly Sutures are great for closing laceration wounds. They act by pulling the wound shut.
The Butterfly Sutures are first placed perpendicular to the wound. One side of the suture is pressed against the skin. The wound is pulled together, then the other side is gently pressed onto the skin.
BleedStop Bandages
These specialty bandages are impregnated with a blot clotting agent that assists with stopping the bleed. They have proven themselves in the field and work especially well with folks on blood thinners.
Each BleedStop Bandage kit includes an absorbent pad plus two rolls of gauze. Irrigate the wound to get any dirt and debris out of it, then cover with the absorbent pad. If the wound is bleeding a lot, create pressure by placing one of the gauze rolls above the pad and directly on top of the wound.
Wrap with the other roll of gauze, using enough tension to stop the bleeding but not so much that the injured person loses circulation (if the bandage is being placed on an arm or leg).
 How to Apply a C-Collar
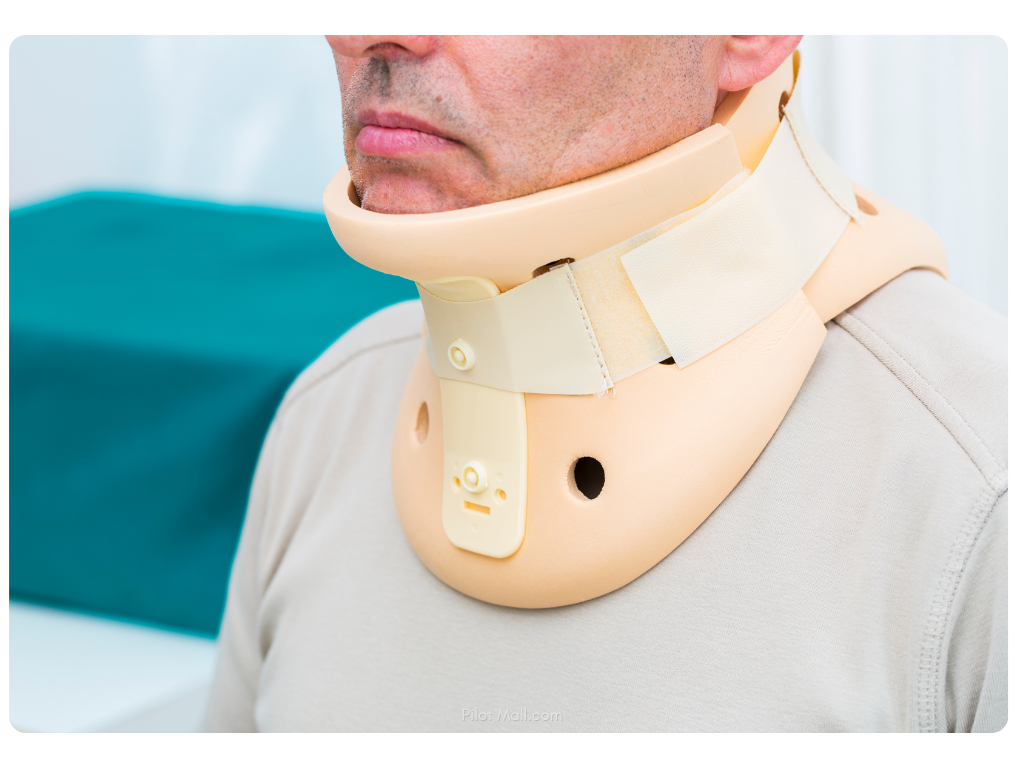
If there is a chance that the injured person harmed their neck or spinal cord, standard practice is to reduce the motion of the spinal cord in order to reduce the possibility of further injuries.
The amount and type of force that are applied to a person’s body during injury are main factors in whether you should consider placing a C-collar.
Placing c-collars on motor vehicle or aviation accident victims is a common practice because of the forces involved. Neck pain and numb or tingling fingers are other signs that a c-collar is a good idea.
C-collars are simple to apply once you know how, but they need to be sized correctly so they support rather than further injure the neck.
Watch a quick c-collar training video, then take your c-collar out of the bag, unfold, and assemble it. Enlist a friend who will let you practice applying the collar on them (perhaps for the low price of a beer).
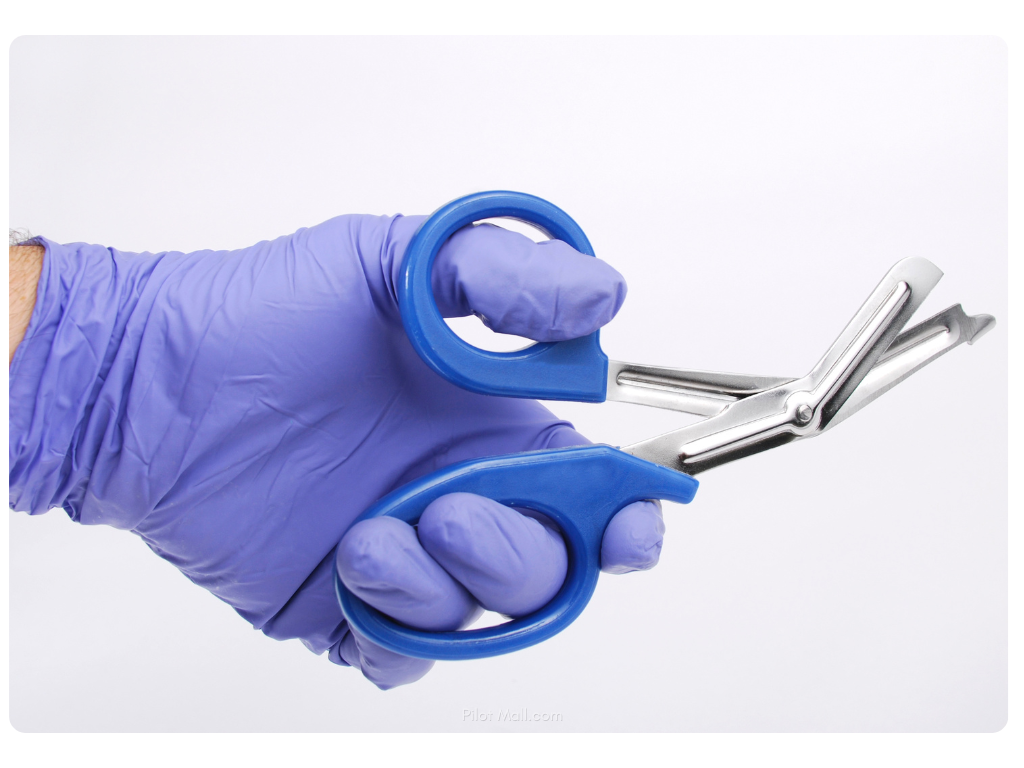 How to use Trauma Sheers
These are thick industrial scissors with plastic handles that can cut through clothing, leather, and everything in between.
These are primarily used to gain access to a wound site without the need to remove one’s clothing. They are very tough and can also be used to cut seat belts.
 How to use a Tourniquet
Tourniquets save lives when someone is “bleeding out.” Used correctly, tourniquets stop blood flow to extremity injuries quickly. A good tourniquet, or even two, are the backbone to tactical medical kits around the world.
When applying a tourniquet, place it high and tight around the arm or leg with the uncontrollable bleed. If the injured person is conscious, applying the tourniquet will hurt. Reassure them that it is necessary to stop the bleeding.
Already applied your only touniquet and tightened it, but the bleeding still won’t stop? You may need to use your triangle bandage and a few other materials to make a makeshift tourniquet.
Basic Vitals and the use of the Stethoscope and Blood Pressure Cuff
Having a stethoscope and Blood Pressure (BP Cuff) gives you the tools needed to obtain what is known as baseline vitals like heartrate, pulse, blood pressure, lung sounds, and respiration rates. You may not be a doctor, but think of vitals as clues or indicator gauges that let you know when a metric is redlining.
A well-known secondary use for the BP cuff is to help stop blood loss in limbs. It can be inflated tightly and used as a makeshift tourniquet.
Oral Pharyngeal Airways
Oral Pharyngeal Airways, also known as OPAs, are emergency airway devices used to hold the airway open (maintain a patent airway) in patients that either have a blocked or restricted airway.
How to Insert an OPA
OPAs are first sized, then inserted into the mouth. This kit comes with both an adult and young adult sizes. They may seem intimidating, but sizing and correctly inserting an OPA is a basic procedure that you can learn quickly by watching this OPA how-to video.
Note: OPAs are only to be used on patients who do not have a gag reflex. If someone is unconscious and they gag when you try to insert an OPA, stop as the person may vomit, creating an airway obstruction.
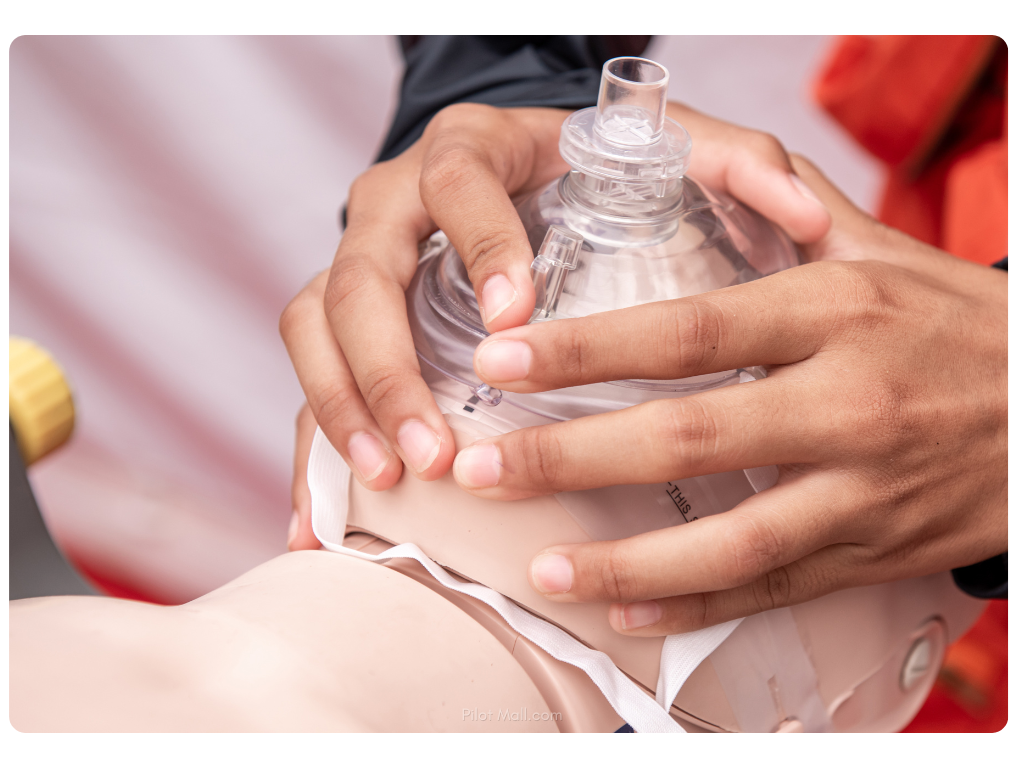 CPR Face Shield
If you’re in a situation where you need to try to help someone whose heart has stopped beating, you will need to know CPR. About half a million people die every year from cardiac arrest. With those statistics you may find yourself encountering someone requiring emergency care whether in the air or on the ground.
When to Use a Face Shield
Cardiopulmonary Resuscitation or CPR can be a lifesaving skill to have, and you can easily learn the basics of CPR or get certified by attending a CPR certification course through the Red Cross.
During CPR, you will do chest compressions using your gloved hands. If you are also providing rescue breaths, a CPR Face shield is a physical barrier between your mouth and that of the person you’re helping. To use, open the shield, unfold, and position over the person’s nose and mouth. When it’s time to provide breaths, do so with the shield in place.
Bonus Gear to Add to Your Kit
Now that you’ve got the basics down, here are some other pieces of medical gear that well-prepared pilots have added to their existing pre-built kits:
- Chest seal
- Israeli bandage
- SpO2 meter
- Vet wrap
- CAT (or similar style) second tourniquet
- Supplemental oxygen and mask
Pick Out Your Other Survival Gear
- Aviation Survival Equipment Buyers Guide
- Aviation Life Rafts: A Pilots Guide to Survival Equipment
- Pilot’s Guide to Aviation Life Vests [Part 2: Survival Equipment Series]
It’s Your Turn
Let’s hear from you: which pieces of gear in your med kit would you be comfortable using during an emergency? What could you use a refresher on?
Disclaimer: This article is written with the intent to describe how these medical products are used both professionally and in emergency “field expedient” and survival situations. This article is not a substitute for proper and legal training. Pilot Mall is not a training site and is not responsible for the improper use of the medical devices listed above.
Did you find this article helpful?
Do you think we missed anything important? Let us know in the comments below!

